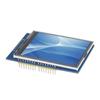
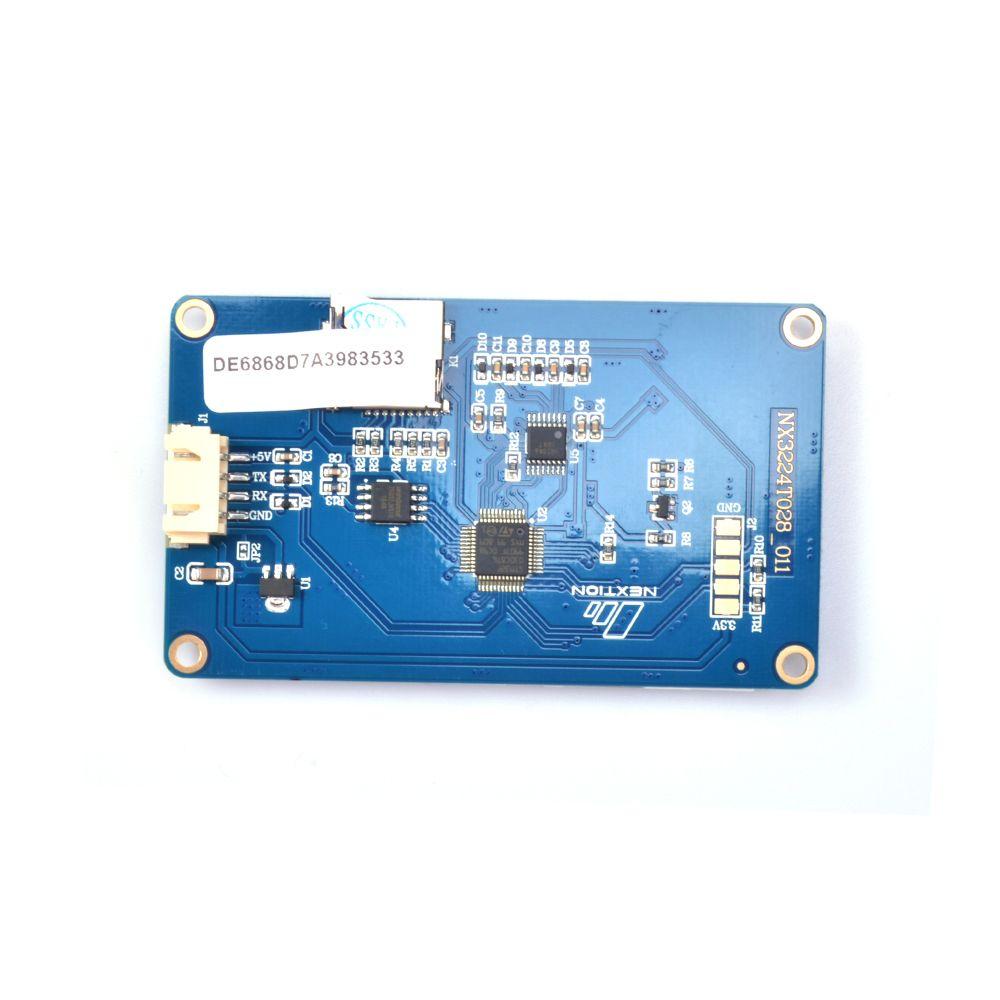
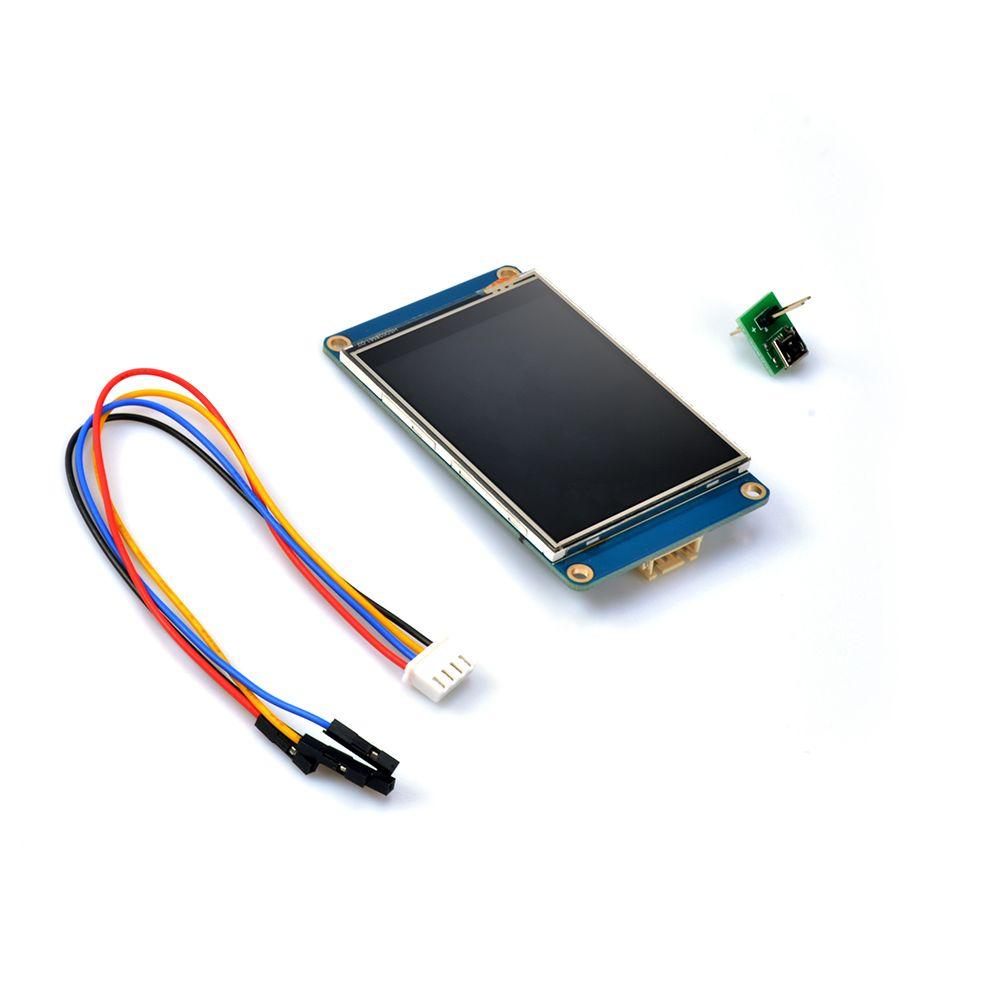
The Nextion Basic NX3224T028 is an excellent display for quick HMI projects using readily available tools. The display is controlled via a UART serial bus. It is recommended for Arduino, Raspberry PI, and systems with ESP8266 microcontrollers. If you need to quickly design an interface with buttons, graphs, various controls, and easy operator data entry, you'll find the answer in the Nextion series. Nextion displays are divided into three groups based on their level of advancement, hardware capabilities, and processing power: Basic - the entry-level version. Enhanced - compared to Basic, it includes EPROM memory, GPIO lines, and an RTC clock. Intelligent - compared to Enhanced, it includes many new, advanced graphical controls. Specifications of the presented Nextion Basic NX3224T028 display: Size: 2.8" Resolution: 320*240 Touch panel: resistive Number of colors: 65536 Flash memory: 4 MB RAM memory: 3584 Byte MCU clock: 48 MHz SKU: IM150416004" Current: 112mA Nextion Editor The screen graphic layout and functional elements can be designed very easily and quickly thanks to a free program on a computer. Each screen can contain many functional elements, so-called widgets, which include: Text: a text field that can be modified during display operation. Number: a numerical field that can be modified both by the microcontroller and the interactive keyboard on the display. Button: a button. Both pressing and releasing the button is easy to register by the microcontroller. Progressbar: a progress bar. The value of this bar can be easily set with the appropriate command. Picture: allows you to create a screen background or insert image fragments anywhere on the screen. Gauge: an analog indicator with a single needle. Waveform: used to draw up to four graphs. Slider: a slider that allows you to set various parameters and program variables. Checkbox: a checkbox. Each touch changes its state. Using the mouse, you can insert the functional elements you need onto the screen and determine their size and position. A completed project prepared in the Nextion Editor software can be transferred to the display in two ways: Upload the appropriate project file to an SD card and insert it into the display. After applying power, the display automatically uploads the project to its Flash memory. This is a good way to transfer software updates via the internet. If the display is connected to a computer (using a USB-TTL converter), simply click the upload button and the program will automatically upload to the display via the USB port. How to connect Nextion displays to a microcontroller: The display communicates with the controlling microcontroller using a UART serial bus, so you only need to connect four pins: +5V: power supply TX: data output from the display (e.g., button 1 was pressed) should be connected to the microcontroller's RX. RX: input data to the display (e.g., displays the temperature) should be connected to the microcontroller's TX. GND: ground for power supply Nextion as a display for Arduino. If the microcontroller's software is based on the Arduino IDE, the manufacturer has also made many improvements. The manufacturer's library for Nextion displays allows for easy management of elements displayed on the screen. A software example is available on our blog. To power the display, we prefer to use a dedicated foca module or the following connection diagram. The following power supplies can be used: MP1584 module LM2596 module LM7805 module Technical support for Nextion displays. When you purchase a Nextion display, you immediately receive a range of technical support: An excellent video course in Polish, which takes you through each element of the display, lesson by lesson. This course provides a wealth of details about the display's software and the Arduino software. A popular electronics forum has a dedicated thread with a video tutorial where you can ask questions, present your broken code, and discuss any technical issues with Nextion displays. Contact us directly by phone or email. Libraries for Arduino and Raspberry Pi are available for download from the manufacturer's website. STL files for 3D-printable enclosures are available for download from the manufacturer's website. The kit includes: Nextion display, USB power adapter, connecting cables with plugs. Useful links: Visit our blog. Manufacturer's website: Basic displays, Nextion Editor interface editing software, Nextion Editor manual, and a description of commands supported by Nextion displays. Arduino Library Raspberry Pi Library STL Case Files for 3D Printing Video Tutorial Comparison of Nextion Basic Series Displays: Model Parameter NX3224T024 NX3224T028 NX4024T032 NX4832T035 NX4827T043 NX8048T050 NX8048T070 Size 2.4" 2.8" 3.2" 3.5" 4.3" 5.0" 7.0" Resolution 320*240 320*240 400*240 480*320 480*272 800*480 800*480 Touch Panel RTP RTP RTP RTP RTP RTP Colors 65536 65536 65536 65536 65536 65536 65536 Flash(MB) 4 4 4 16 16 16 16 RAM(Byte) 3584 3584 3584 3584 3584 3584 3584 Core ARM 7 48MHz ARM 7 48MHz ARM 7 48MHz ARM 7 48MHz ARM 7 48MHz ARM 7 48MHz ARM 7 48MHz eeprom — — — — — — — GPIOs — — — — — — — Pictures Dimensions (cm) 12*7.5*4 12*7.5*4 12*7.5*4 12*7.5*4 14*10*4 14*10*4 19*14*4 Weight (g) 62 71 75 85 141 174 350 SKU IM150416002 IM150416004 IM150416005 IM150918001 IM150416003 IM150416006 IM150416007 Datasheet Click Click Click Click Click Click Recommended Accessories for the Display: Foca Max USB to TTL converter, designed for use with Nextion displays. With an external 8-26V DC power input, Foca Max provides a stable power source and the convenience of USB to TTL communication for all series and sizes of Nextion HMI display.




 Rimborso per mancata consegna