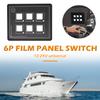
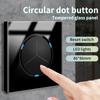
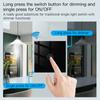
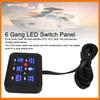
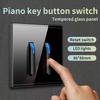
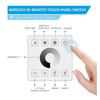
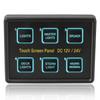
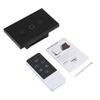
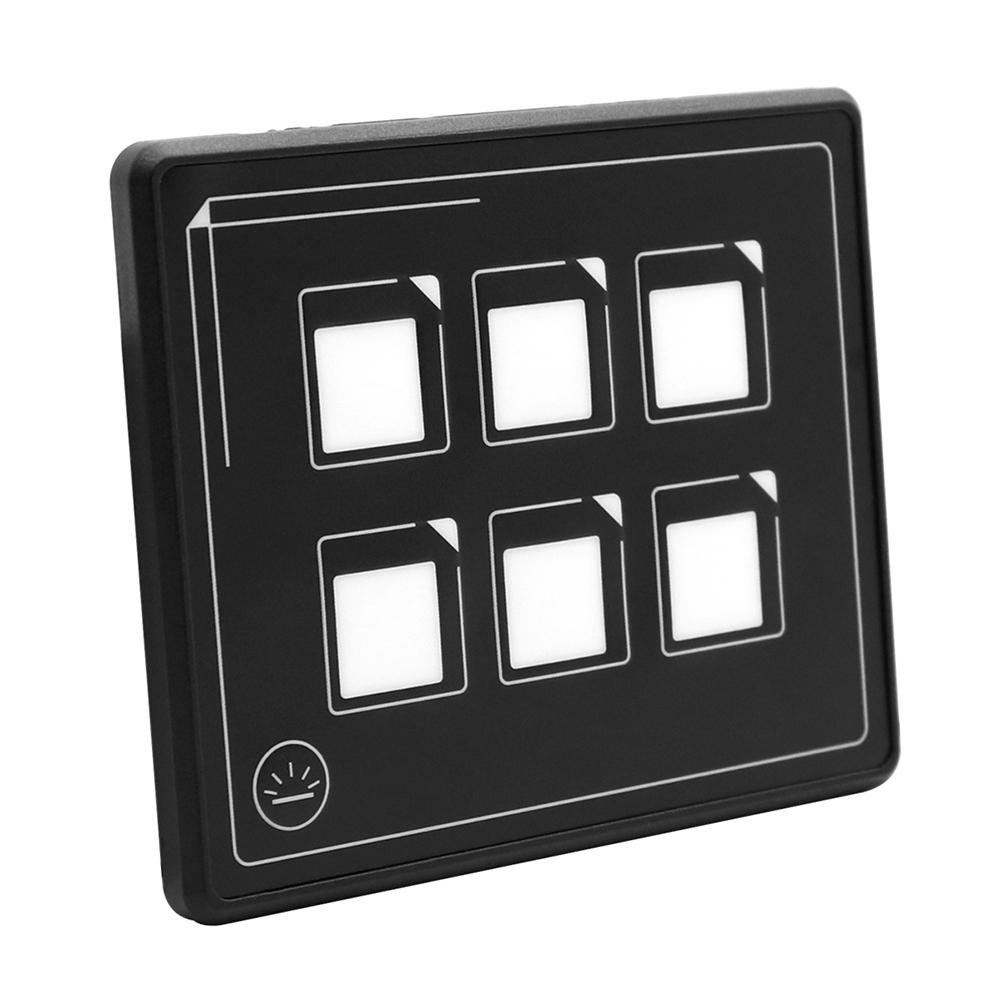
-small panel size (60 smaller than traditional panels), is sy to install, with no installation depth. Support minimum drilling (13 x 8.5mm).
Using a compact, sy-to-access miniature USB cable, the end user can replace any desired length of cable freely, more convenient and .
With flexible wi , can control the relay box installed 1 meter away from the .
Ftures:
-small panel size (60 smaller than traditional panels), is sy to install, with no installation depth. Support minimum drilling (13 x 8.5mm).
Using a compact, sy-to-access miniature USB cable, the end user can replace any desired length of cable freely, more convenient and .
With flexible wi , can control the relay box installed 1 meter away from the .
IP66 strong (NaOnly for panels), no worry about the influence of water, more practical.
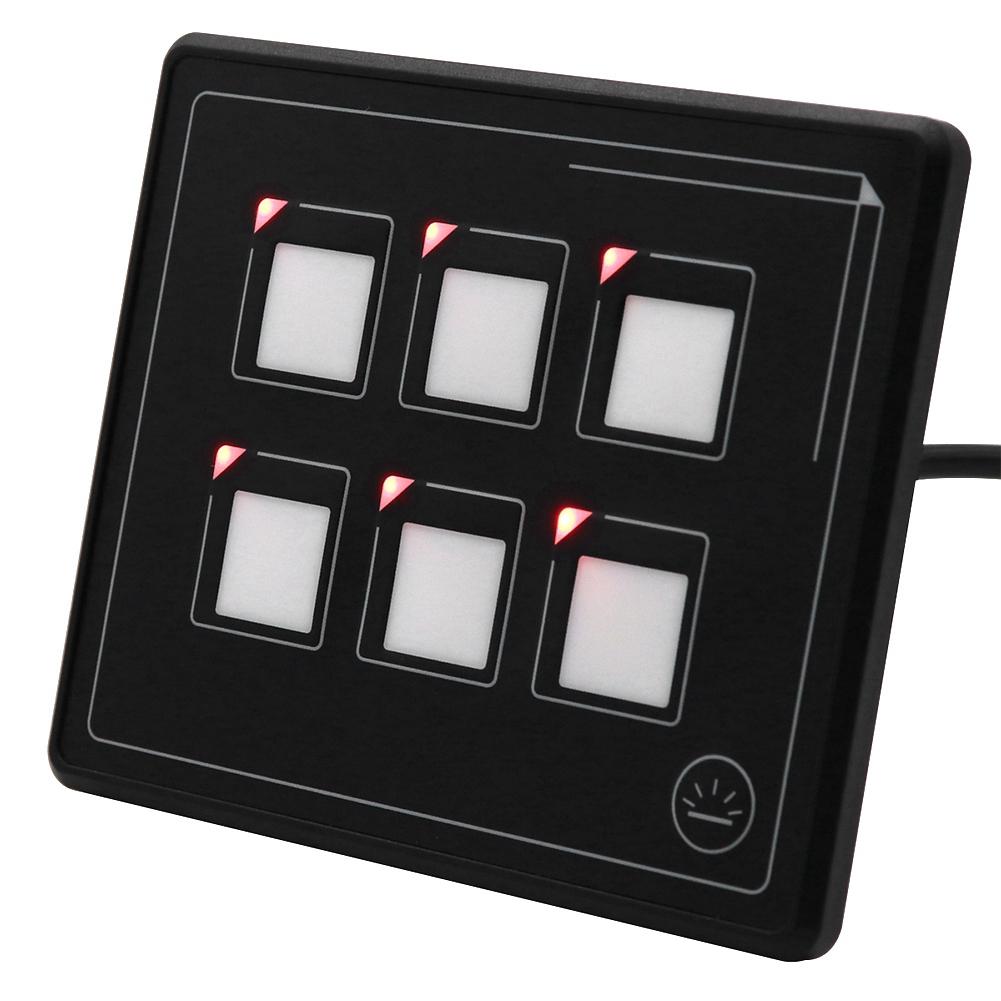
Self-reset indicating ch branch of LED / 10A, providing you with much security.
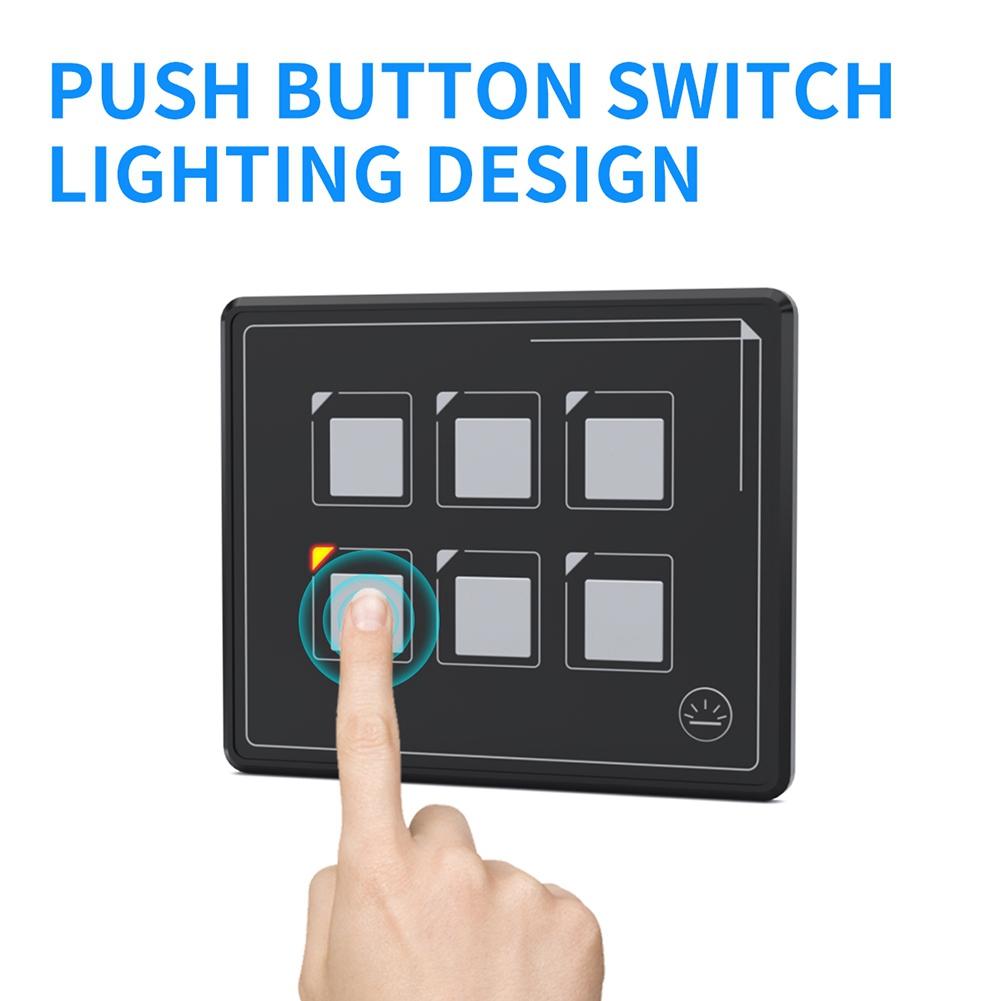
Backlight module design, sy to operate in the dark. The standby current is very low (90 lower than previous ).
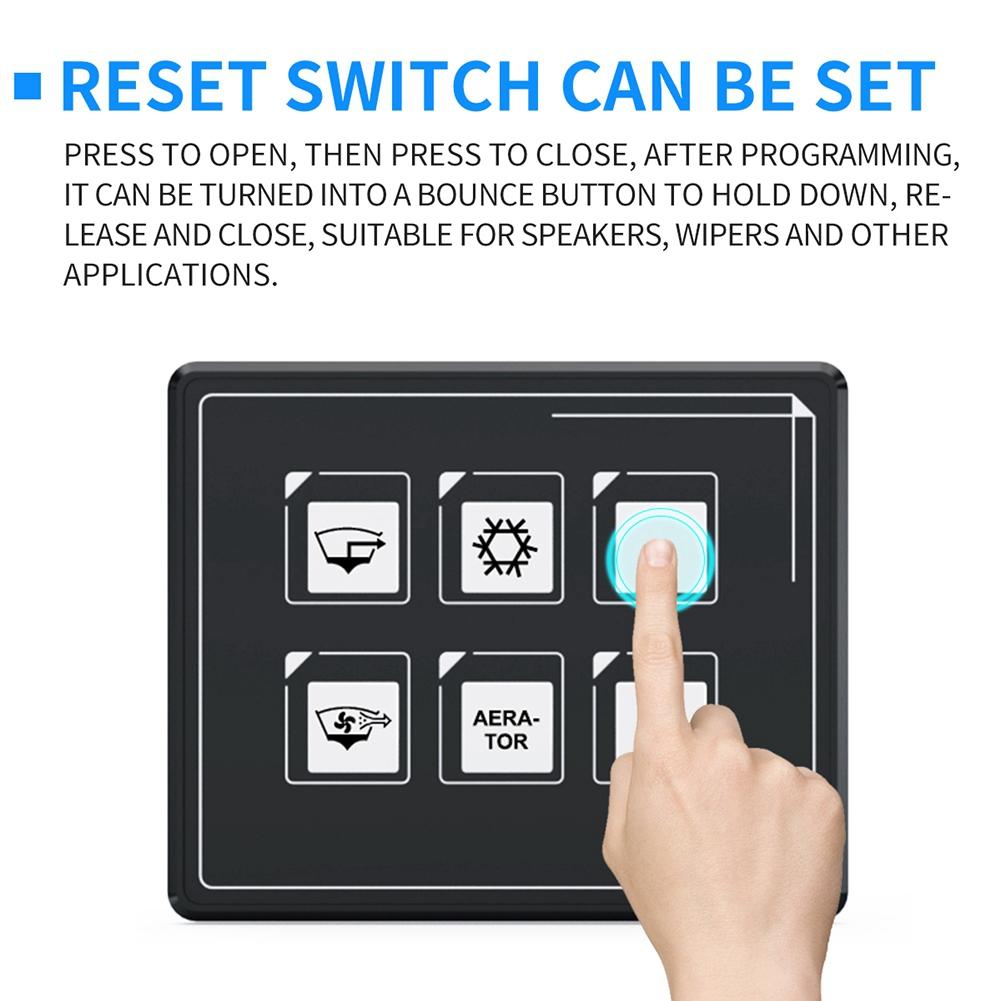
Equipped with programmable momentary button. All buttons can be programmed as an (idl spker or wiper application), including a set of various graphic label stickers.
Specification:
Item Type: Panel
Condition: Brand new
Material: ABS
Color: As pictures shown
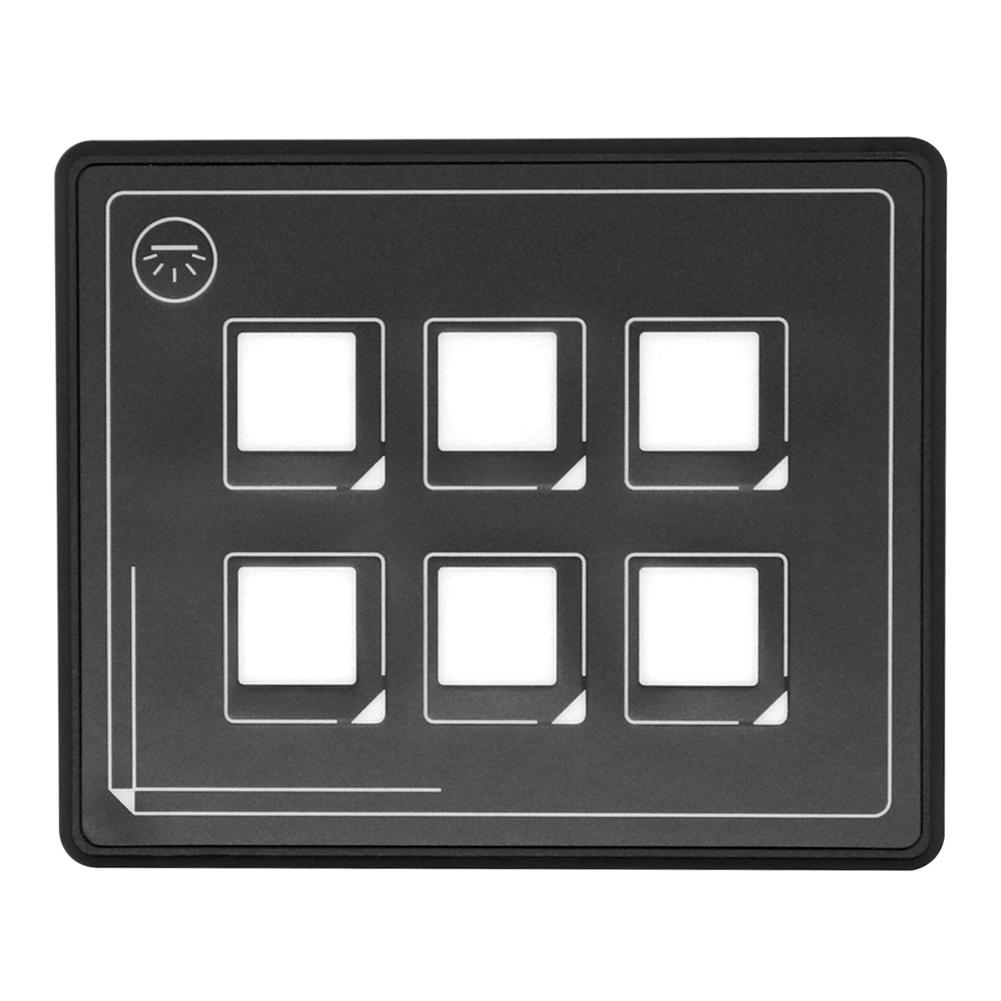
Panel Size: Approx.9.1x0.8x7.5cm/3.6x0.3x3in
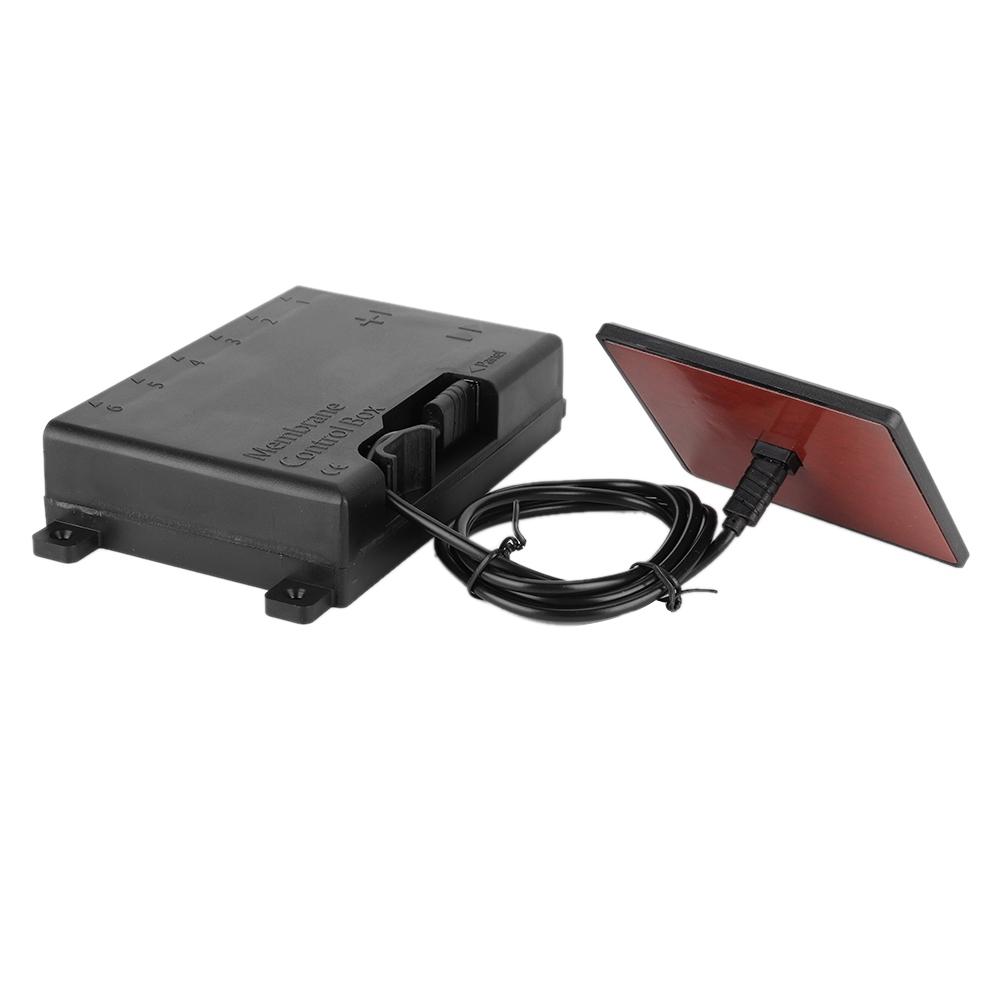
Control Box Size: Approx.16x9.5x3.2cm/6.3x3.7x1.3in
Voltage: 12-24V
Current: 10A per branch circuit
Panel: PET film
Circuit : Built-in Resettable (PPTC)
ing Rated: 10A per branch
Panel Rating: Maximum cumulative amplifier 35A
Rated Voltage: 12-24V
Film Panel: IP66
Power Terminal: M4 stud size terminal
Loading Terminal: 250 fast terminal (male)
Installation Instruction:
1. Place the provided template on the desired panel position and cut the hole accordingly.
2. Connect the USB plug to the socket on the back of the panel.
3. Firmly mount the panel on the dashboard and use the self-stick adhesive on the back of the dashboard.
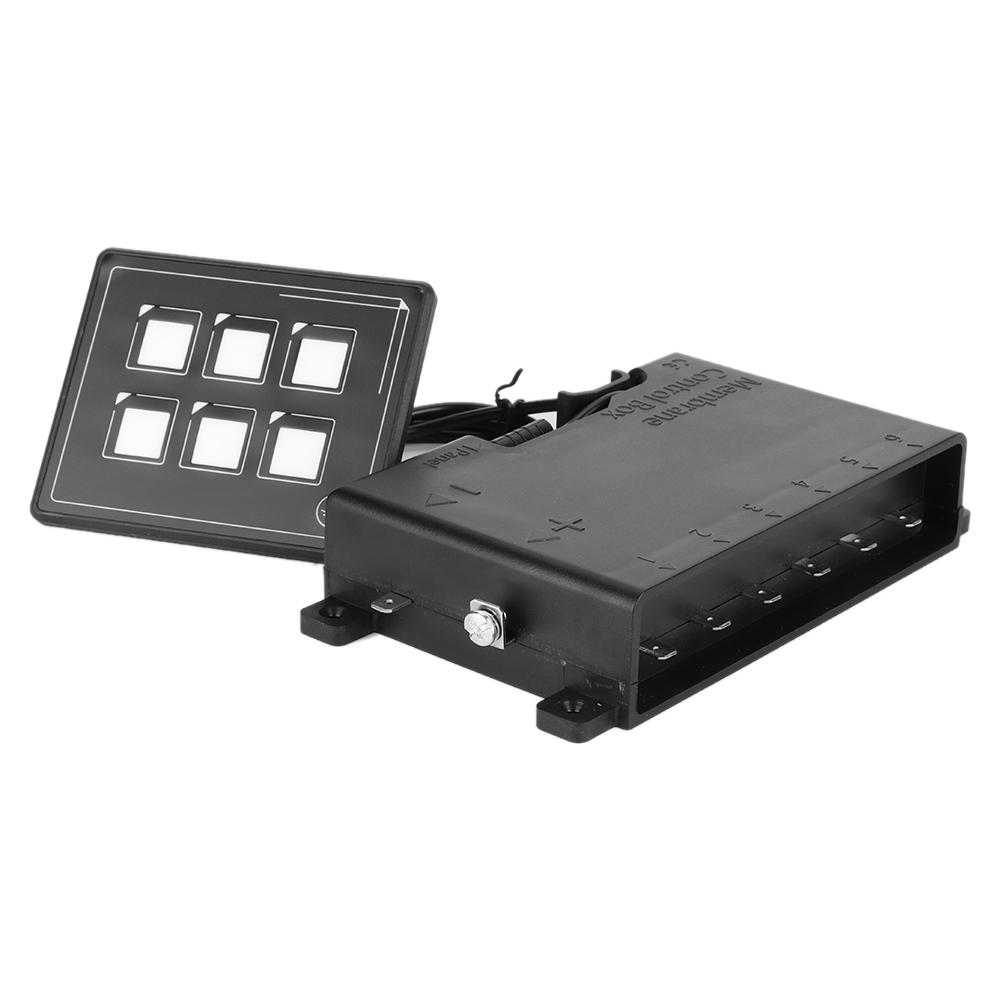
4. Install the control box correctly with the screws provided. Plug the other end of the USB cable into the control box. Insert the cable into the strain relief hook on the box.
5. Press the wire (+) with the included round terminal. The wires are passed through the included insulator and connected to the screw terminals. Cover the terminal with an insulator. Press the negative line (-) with an insulated 0.250'' female terminal and insert the negative terminal on the control box.
6. Connect the load terminal to the desired device. The number at the top of the load terminal corresponds to the number on the panel of the membrane contact 1 2 3 shown on the left.
7. ( aneous button settings) Set a specific button to be momentary (pressed) while pressing the button and backlight button for more than 5 seconds until the button flashes. All buttons can be set to press shortly. To undo this action (change the button to on - off), simply rept the process again on the same button.
Package List:
1 x Host
1 x Touch Panel
1 x Data Line
2 x Terminal
1 x Strap
4 x Screw
1 x Protective Rubber Sve



 Rimborso per mancata consegna